Intel Mac mini: Take Apart Guide (RAM & HD)
The Intel Mac mini's case is just like that on the PPC model and can be opened by prying upward with a sharp putty knife while working your way around the bottom of the case:
Once you have the lid off, you'll be presented with a very tightly packed computer:
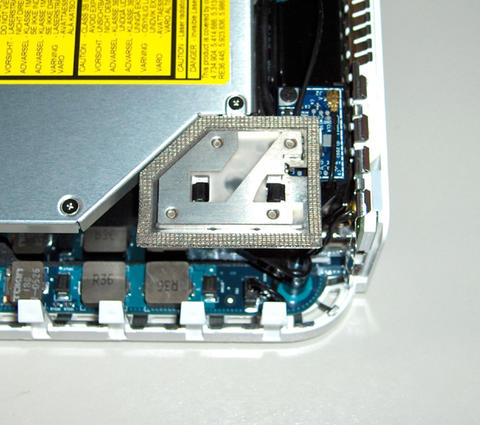
Beneath and around the optical drive is a black plastic frame, with a screw in each corner:
This frame, which holds the hard drive and the optical drive, needs to be removed if you are replacing the RAM or hard drive. Three of the screws are easy to access. The fourth is covered by the airport antenna. To remove the antenna, gently pry inward on the two black tabs that hold it in place and lift upward:
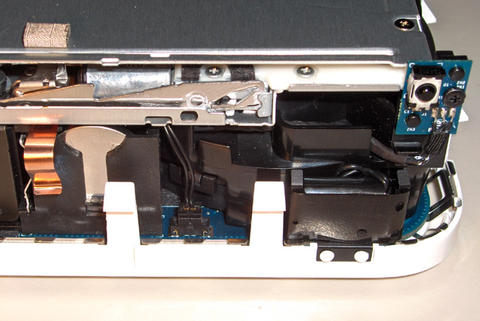
Next, there's a small cable on the front of the mini that needs to be disconnected:
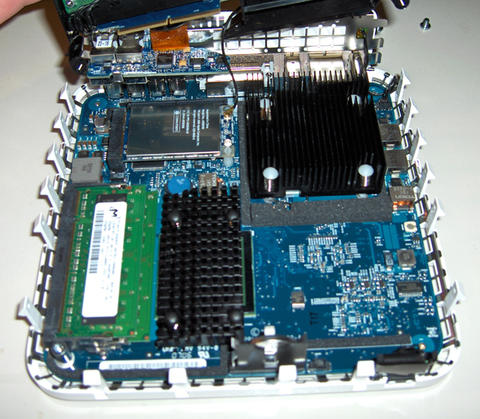
With this cable unhooked, the black plastic frame is only connected at the back and can be gently lifted out as if it were on a hinge, revealing the motherboard:
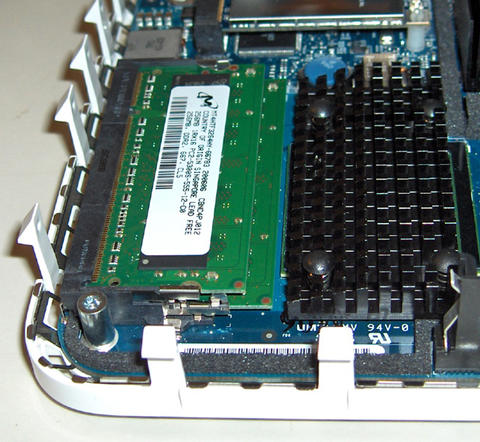
You now have direct access to the two DDR2 SDRAM slots:
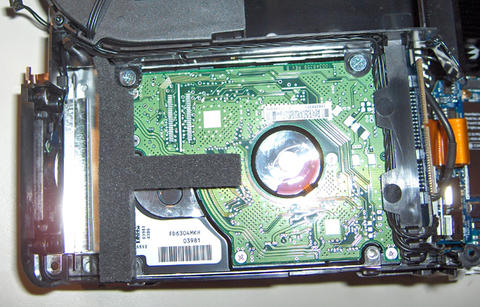
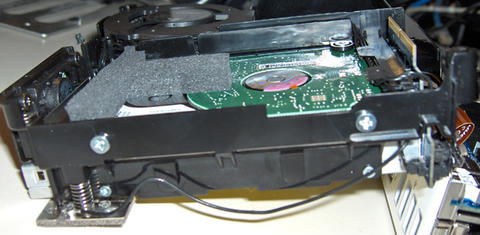
If you want to replace the hard drive, turn your attention to the black plastic frame that's now lying upside down beside you mini's case. The drive is in it, held in place with four screws. Two are on the bottom:
And two are on the side:
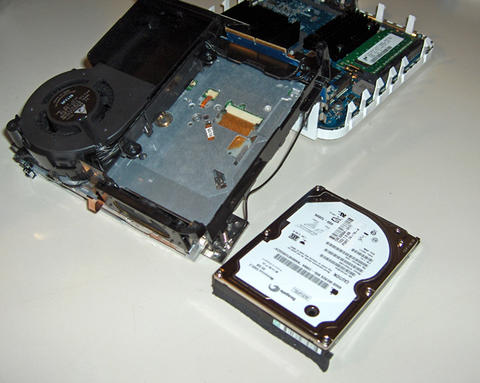
With the screws removed, the drive can be easily slid forward and removed:
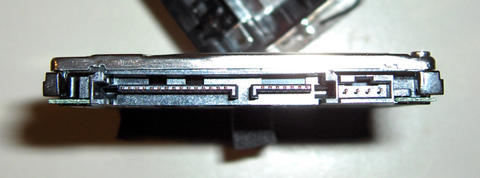
The hard drive is Serial-ATA:
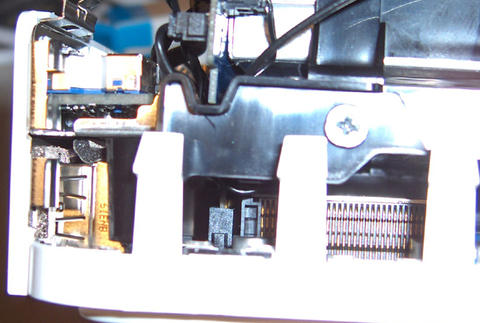
When you reinstall the plastic frame, ensure that the interconnect board is properly seated in its slot:
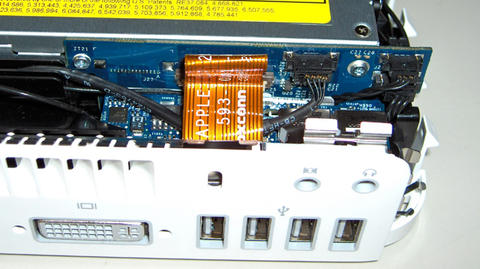
It's also likely that the audio board's cable became loose, so ensure that it's correctly seated:
Given what a pain it is to remove the cover, power the computer up and test everything out before you snap the case shut again.
| Attachment | Size |
|---|---|
| 13.89 KB | |
| 182.36 KB | |
| 246.63 KB | |
| 403.92 KB | |
| 281.02 KB | |
| 208.97 KB | |
| 347.53 KB | |
| 339.07 KB | |
| 330.58 KB | |
| 183.22 KB | |
| 250.86 KB | |
| 106.27 KB | |
| 184.23 KB | |
| 207.46 KB |


Comments
The good news is that by foll
The good news is that by following your guide I got my memory installed correctly...
The BAD news is that because I tried another guide first, I unscrewed the wrong things and something happened that has made my hard drive disappear. I gave up on trying to install mid-way and closed the mini back up and when I started up it was gone. Using the install disk gets me the install screens, but no location to install to. Decided to open it up again and see if I could find anything out of place, and figured as long as I had it open I'd give the memory another shot - I used THIS guide and it was quite easy.
I wanted to post a note about the four screws, though, as their location was what had me unscrewing the wrong things to begin with - for anyone about to try to do this, three of the screws are located inside the small black 'columns' in the corners. The screws are black as well so one might not even know that there are screws in there; there are, and those are the ones you need to take out, NOT any of the very obvious looking screws scattered around the chassis.
Also, be really careful when lifting out the chassis - particularly, keep a close watch on your airport antenna wire. I snapped mine off (wasn't planning on using wireless any time soon anyway.
Thanks for a great guide. I may have messed up my computer (through my own confusion and haste) but I got the memory installed! When I'm back up and running I'll be FLYING!
Pages